3.4 Additional topics
3.4.1 How to create a repository
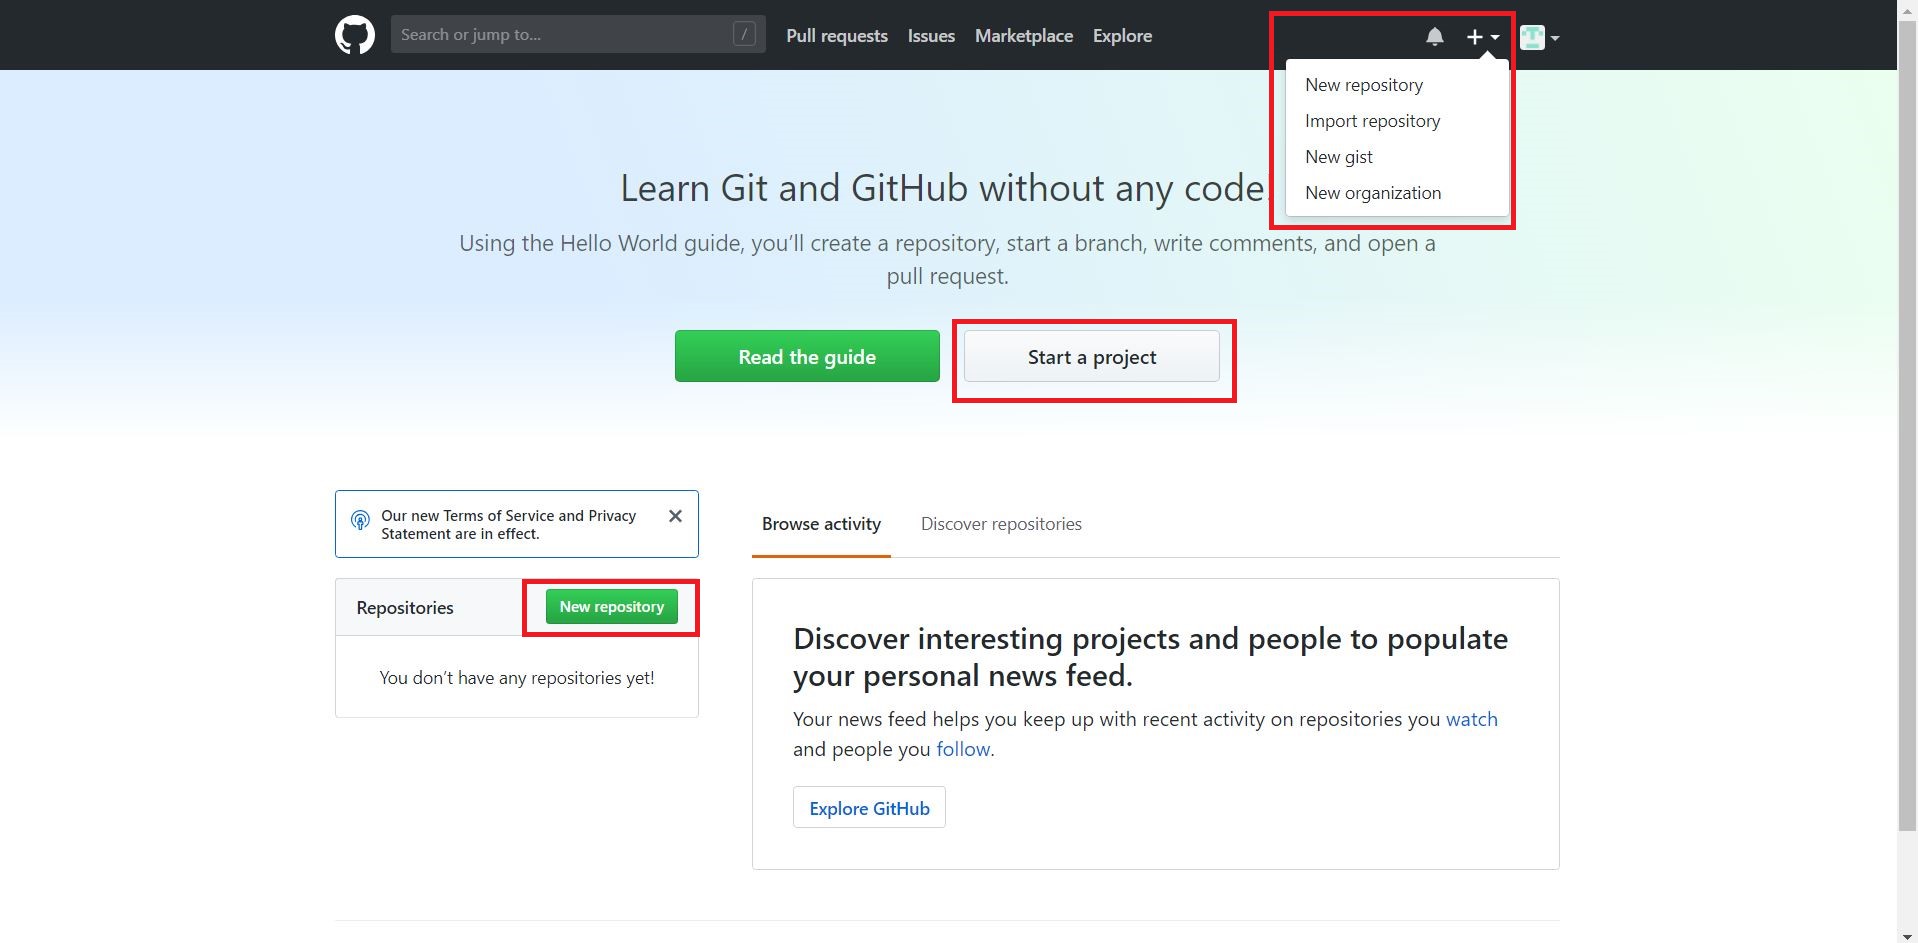
We saw in the last tutorial that after creating an account on GitHub, there are three ways to create a repository. The most common method of creating a repository is to click on “+” sign and then click on “New repository” option.
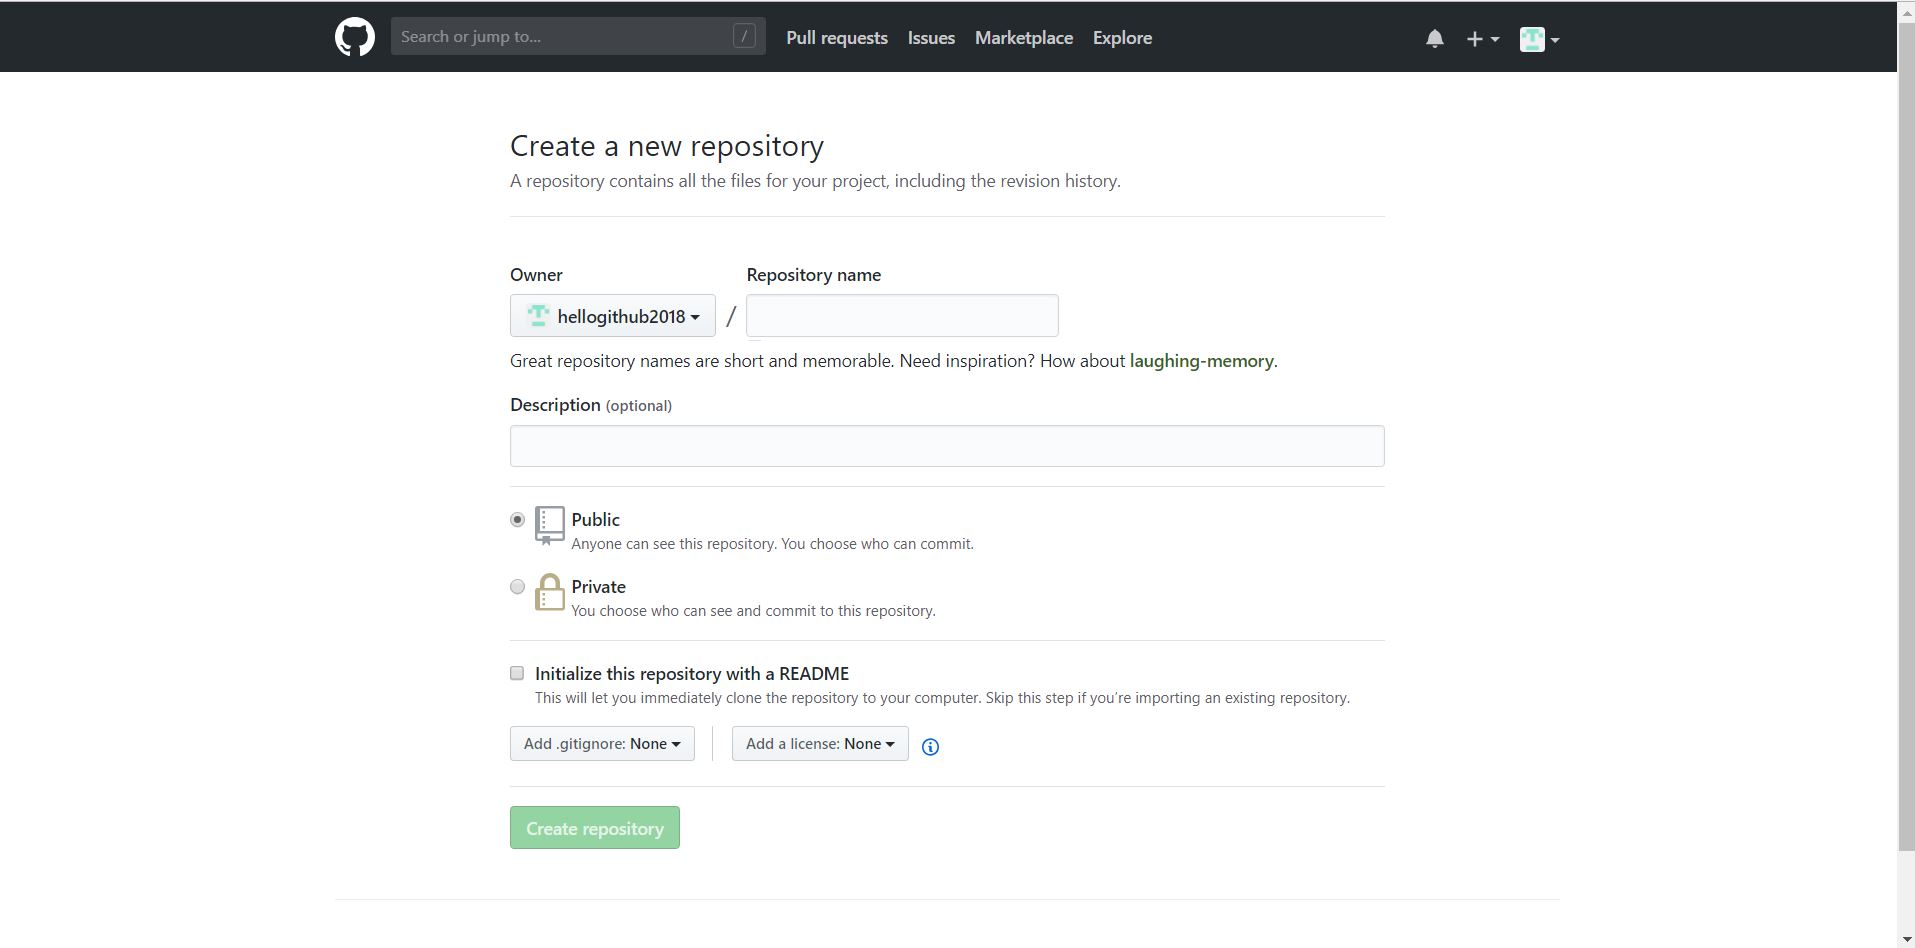
After clicking on “New repository” you will go to a new screen where you need to give a repository name. You will also find two options to either keep repository as public or private. In the end, there will be another option to initialize the repository with Readme.md file.
GitHub doesn’t allow to create a repository without a name. Thus, it is mandatory to give a name to the repository. After providing all the details and selecting appropriate options click on “Create repository” button.
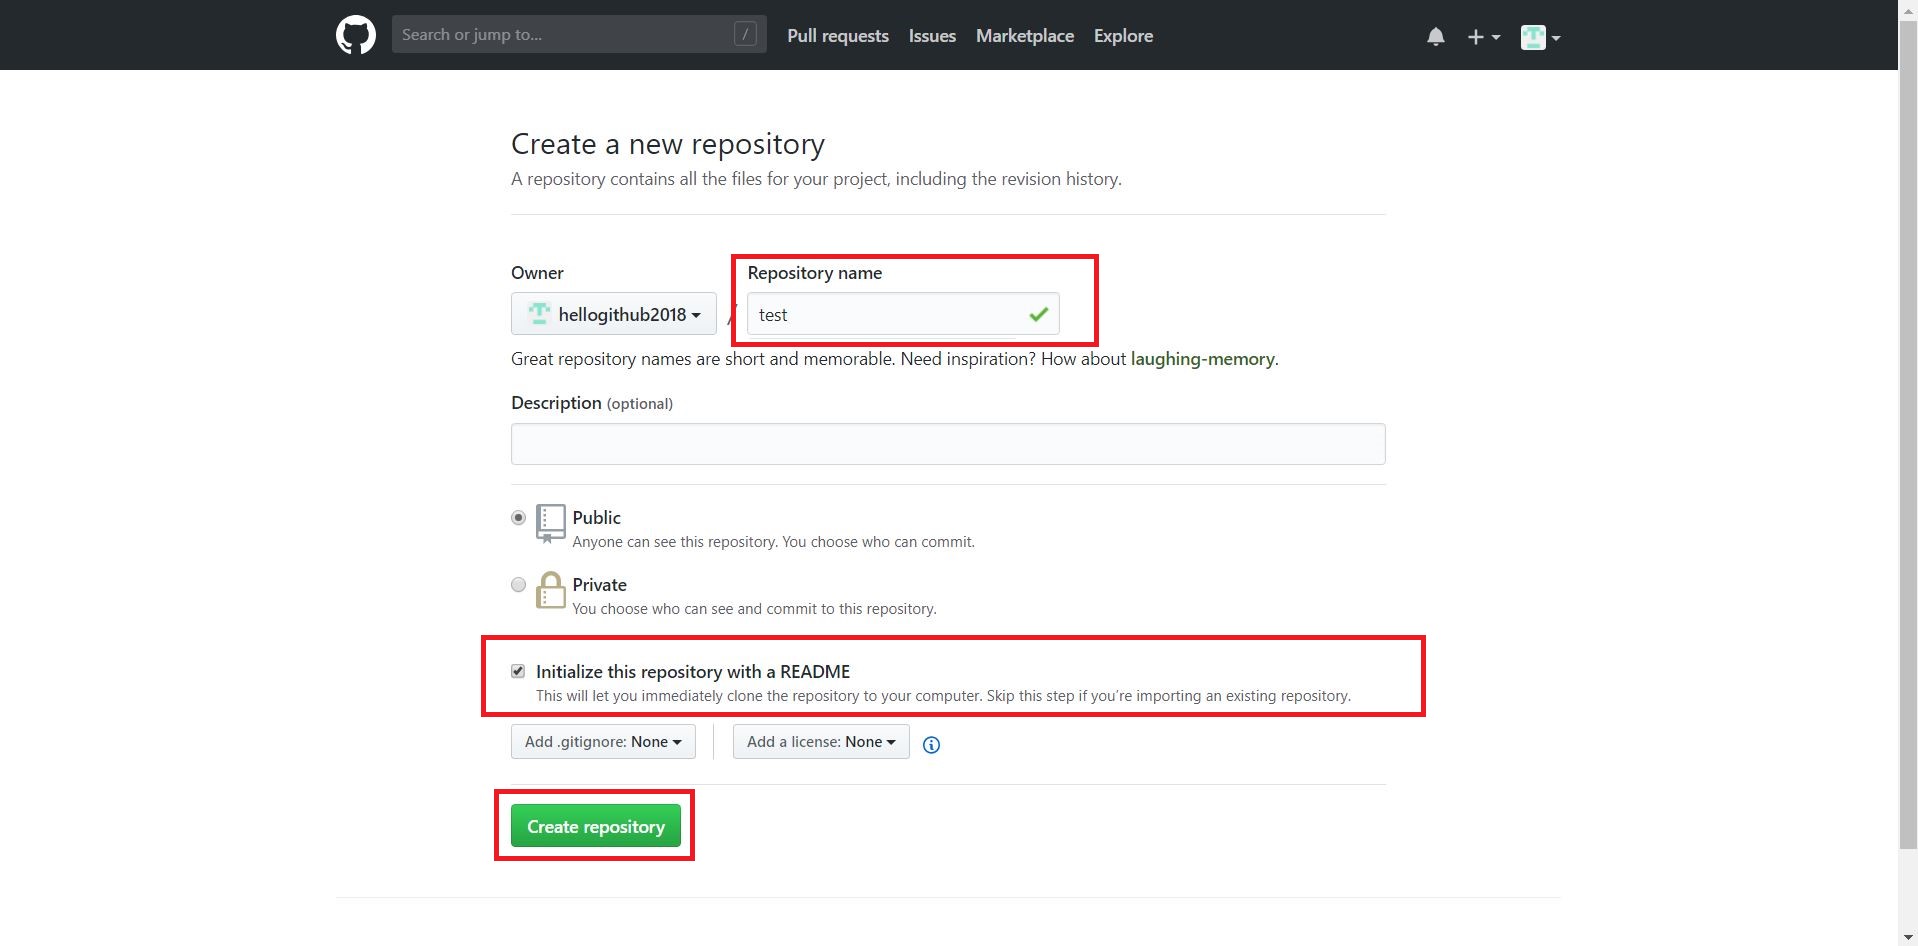
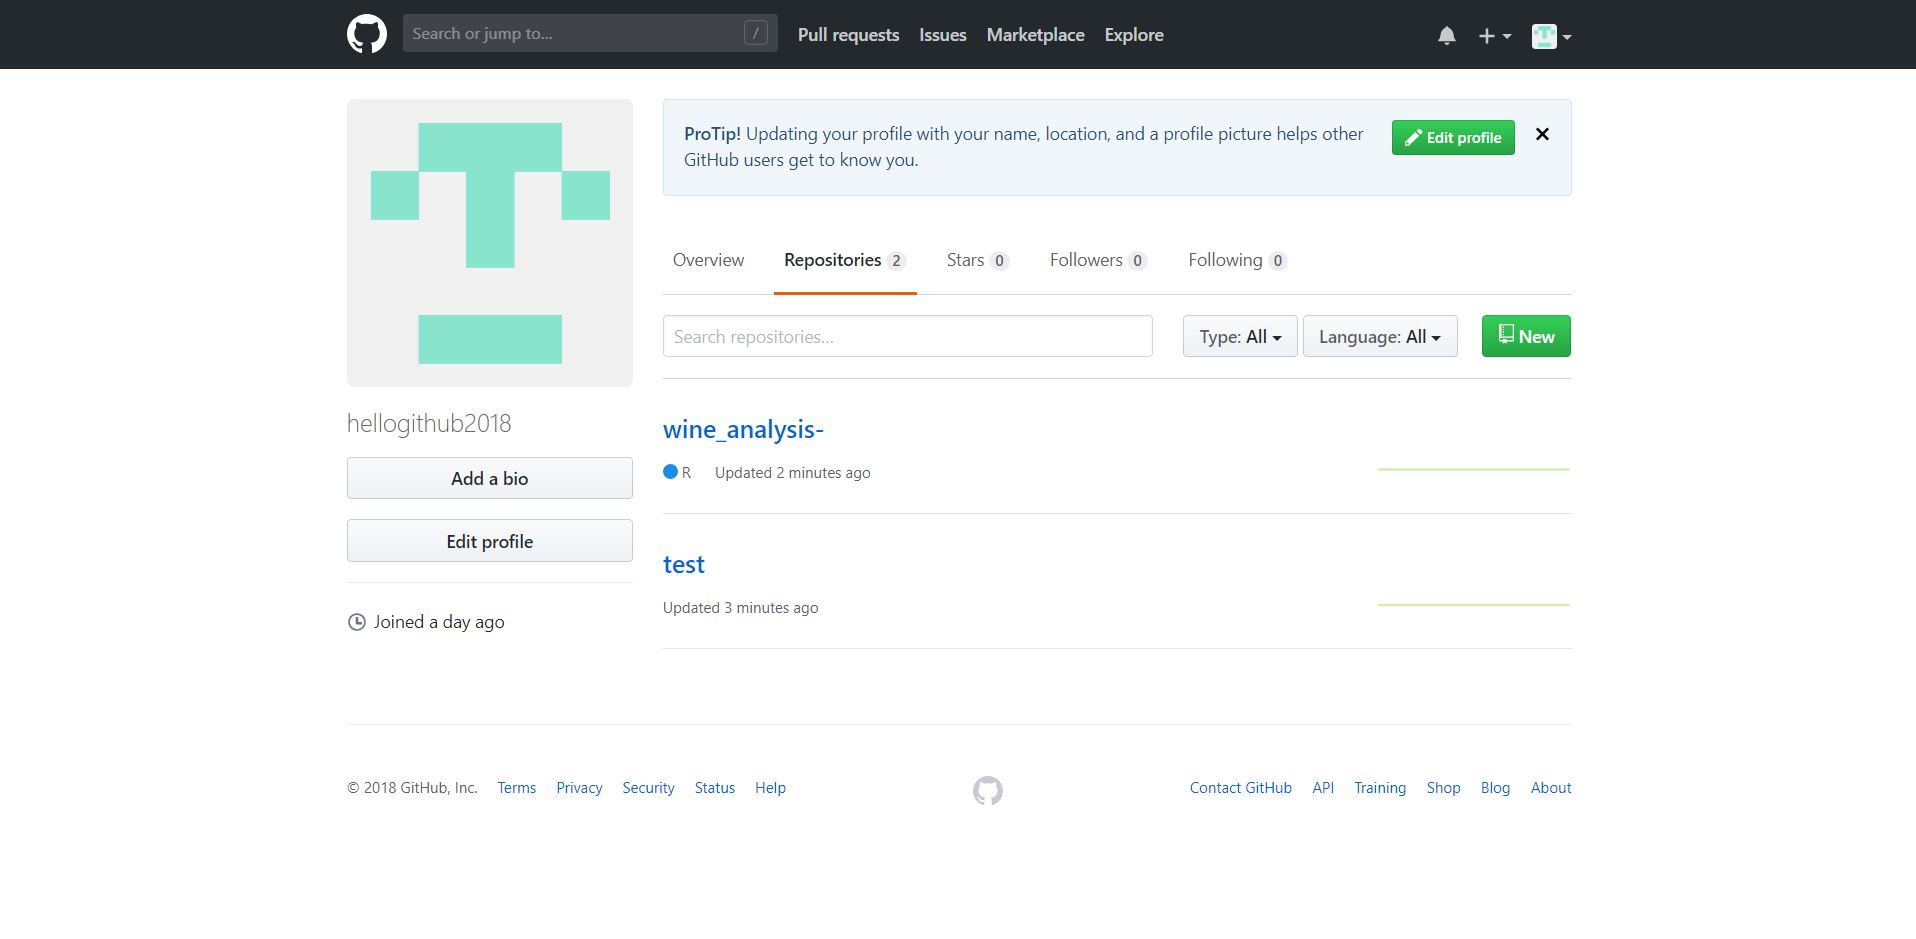
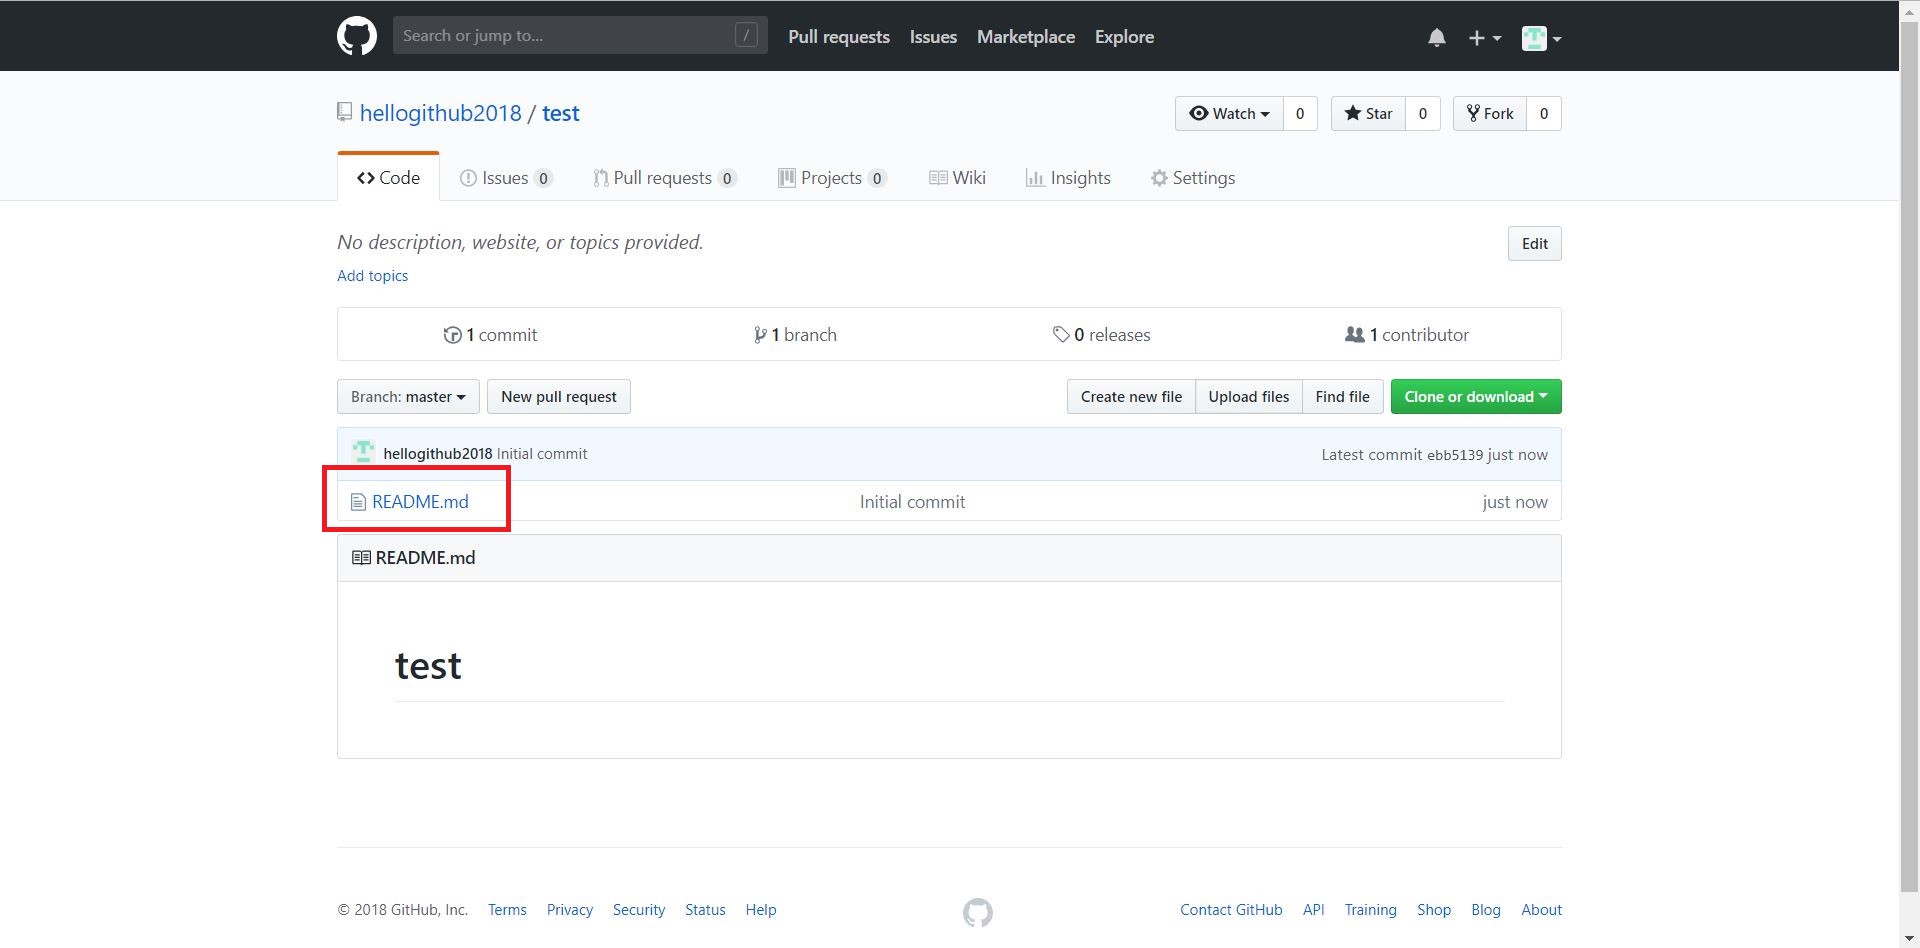
In this way, the repository will be successfully created. If you have ticked on initializing the repository with Readme.md file, then you will find the file in the repository. You can easily edit Readme.md file by clicking on the file.
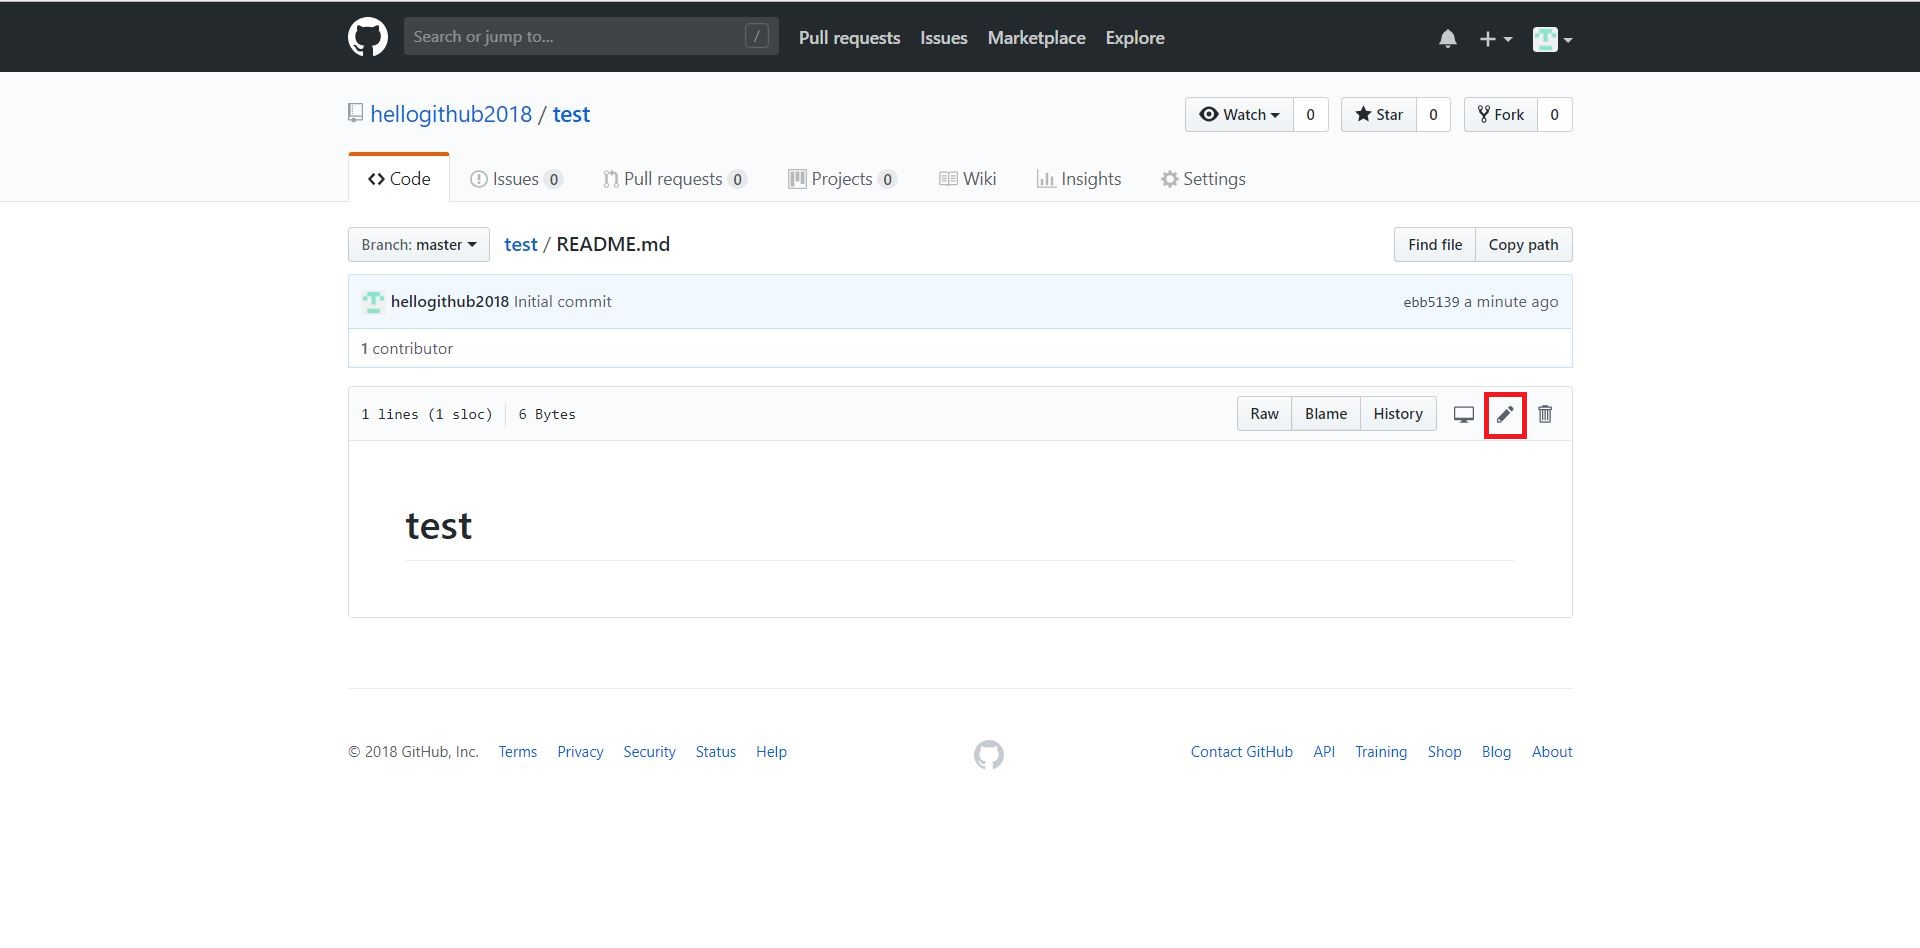
After clicking Readme.md file if you want to add any content in that file then click on the pencil symbol. Click on “Commit” button after making changes in the file.
3.4.2 How to import a repository
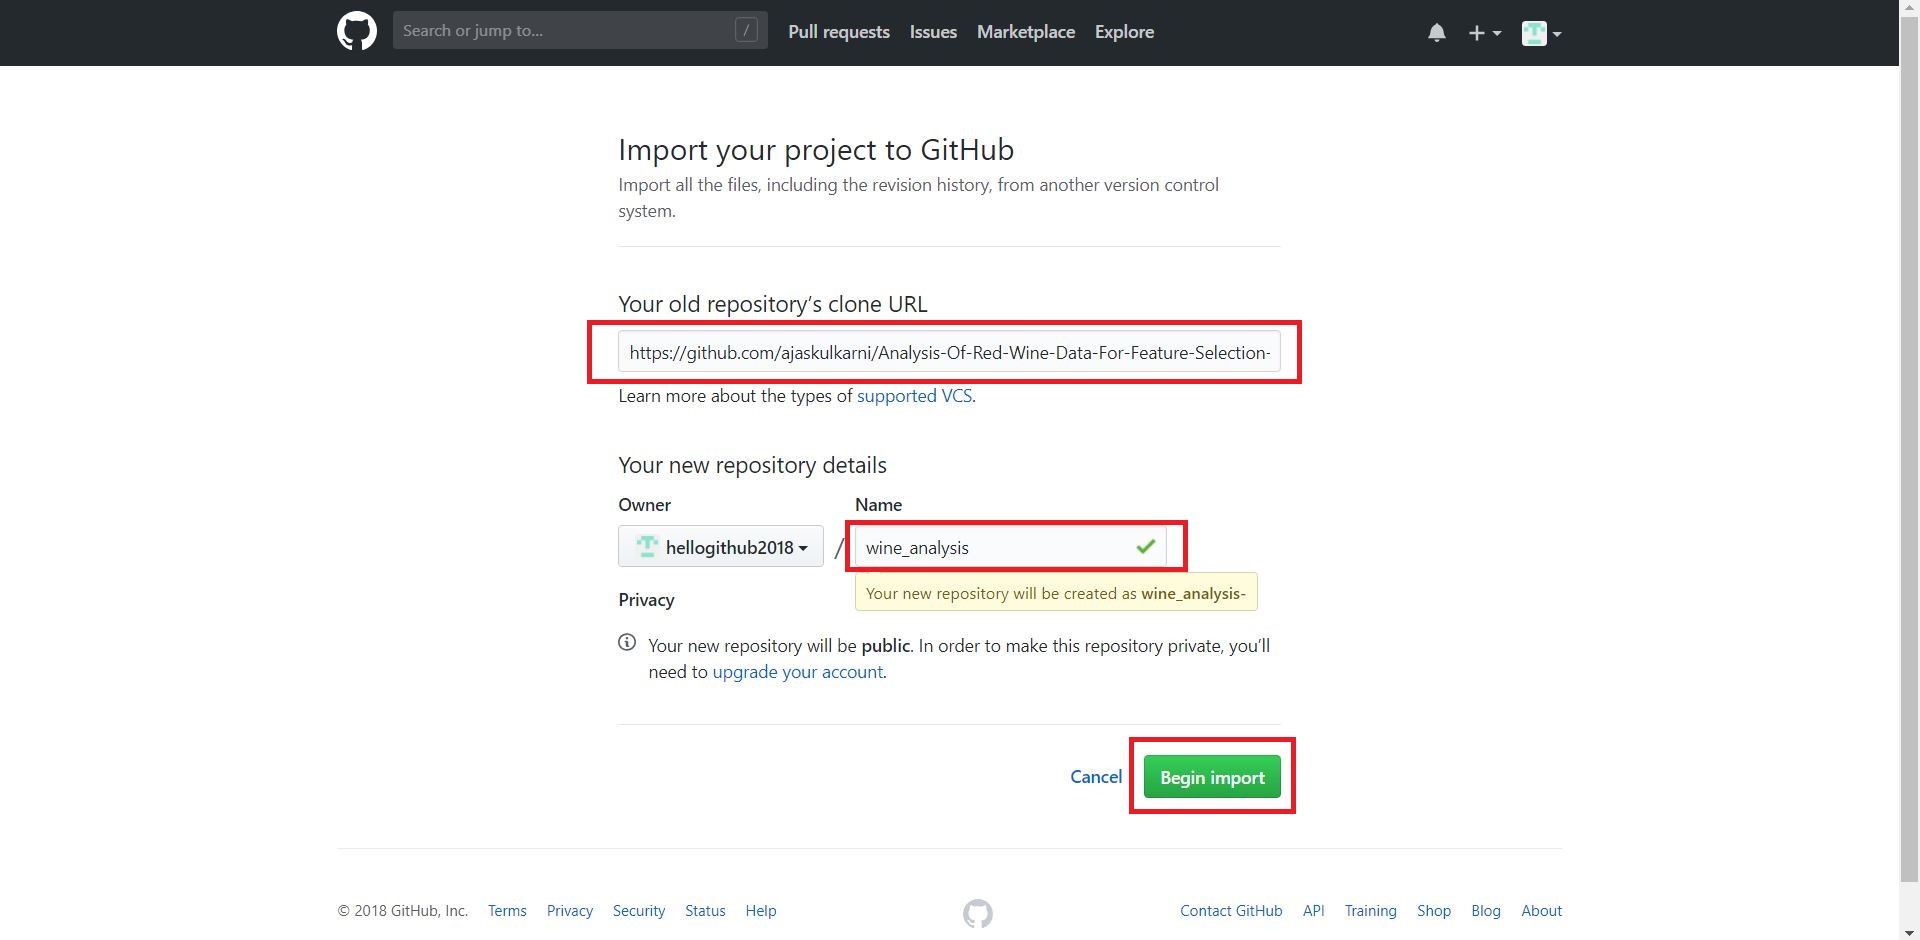
To import a repository from another account click on the “+” sign and then click on “Import repository” option. After that, you need to provide a link of the other repository which you need to clone or import and the repository name to store it under on your GitHub account. After giving all the details click on “Begin import” button.
The import process will start, and you will get a notification after completion of the import process.

Finally, you will be able to see the imported repository in your GitHub account.