4.8 Using RStudio Server to clone a Github Repo as a new project
4.8.2 Step - 2
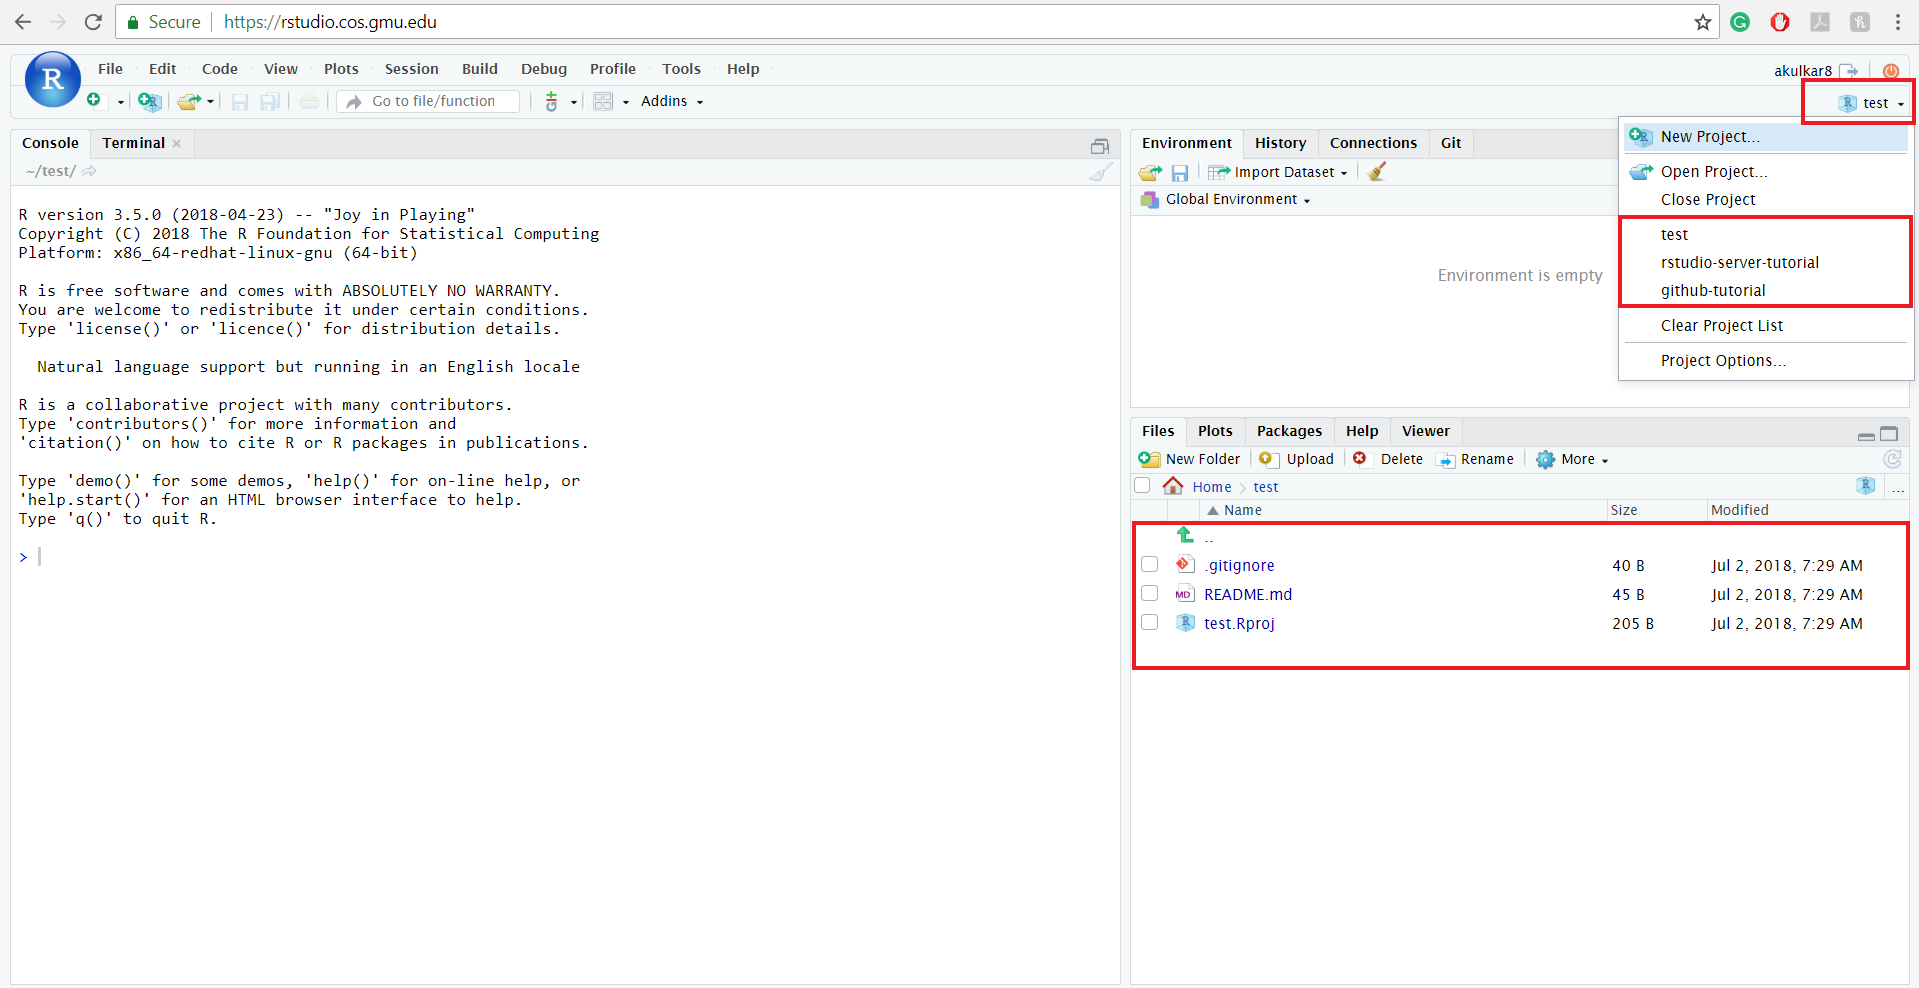
In this tutorial, we will be creating a new project in RStudio Server to clone a GitHub repository. To create a new project click on the right side (cube containing R icon) button on RStudo Server screen. After clicking the button, you will see a menu and then click on “New Project…”.

4.8.5 Step - 5
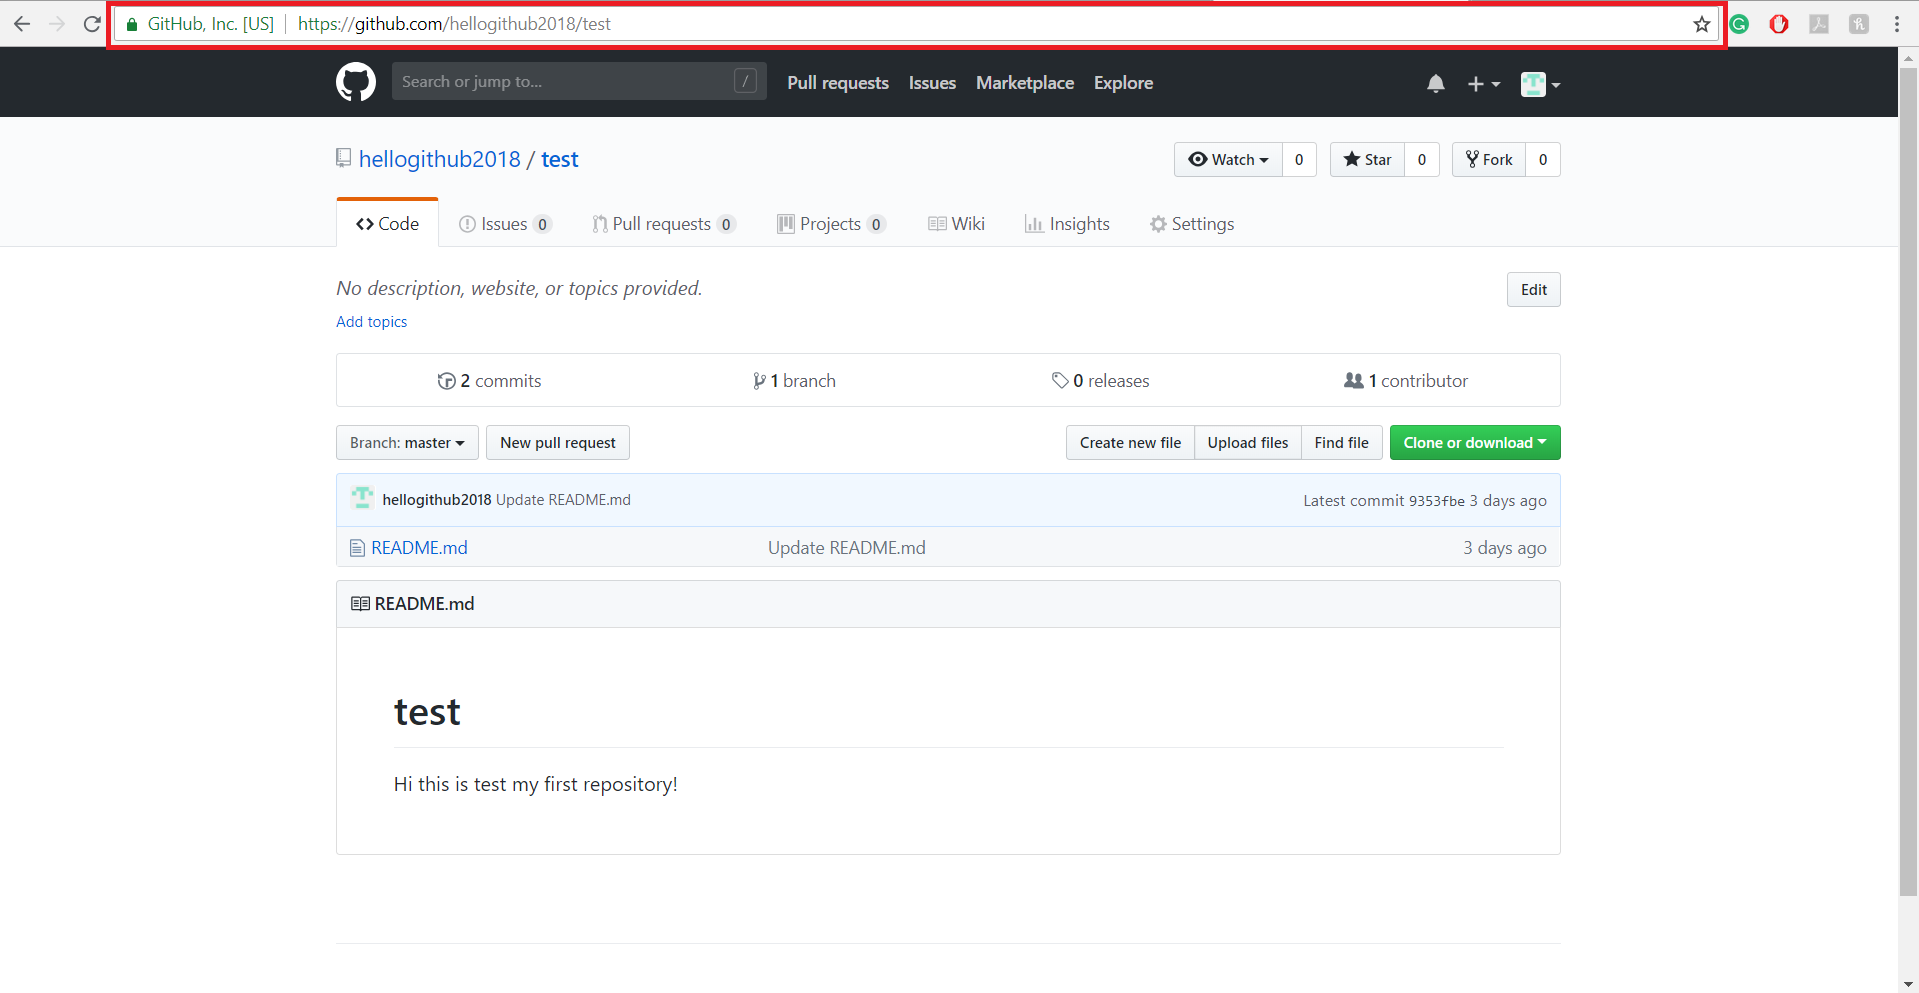
In this step, you need to go to your GitHub account (https://github.com) and copy the URL of the repository which you need to clone. In this tutorial “test” repository will be used. (Please remember to copy the URL of the repository which you need to clone)
4.8.6 Step - 6
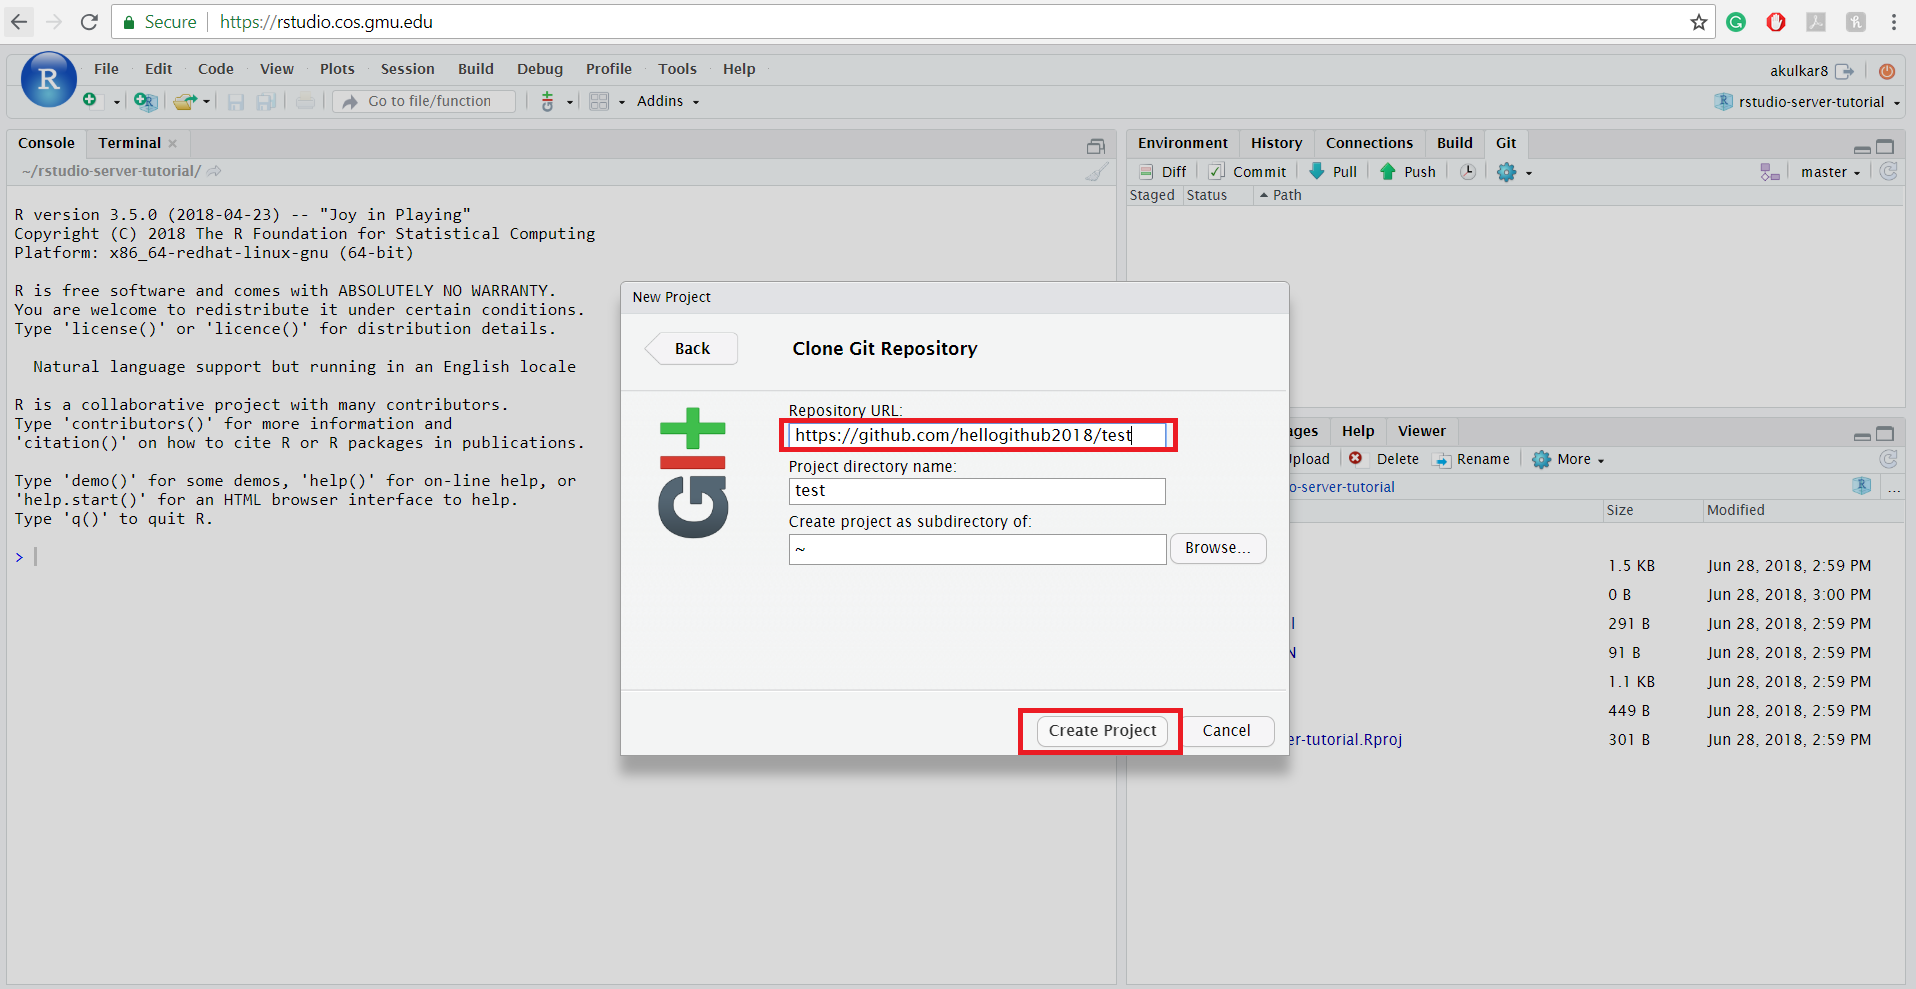
In the last step, you have copied the URL from GitHub. Now, paste the URL in “Repository URL” textbox. RStudio Server will automatically use the same repository name from the URL and then click on “Create Project” button.
4.8.7 Step - 7
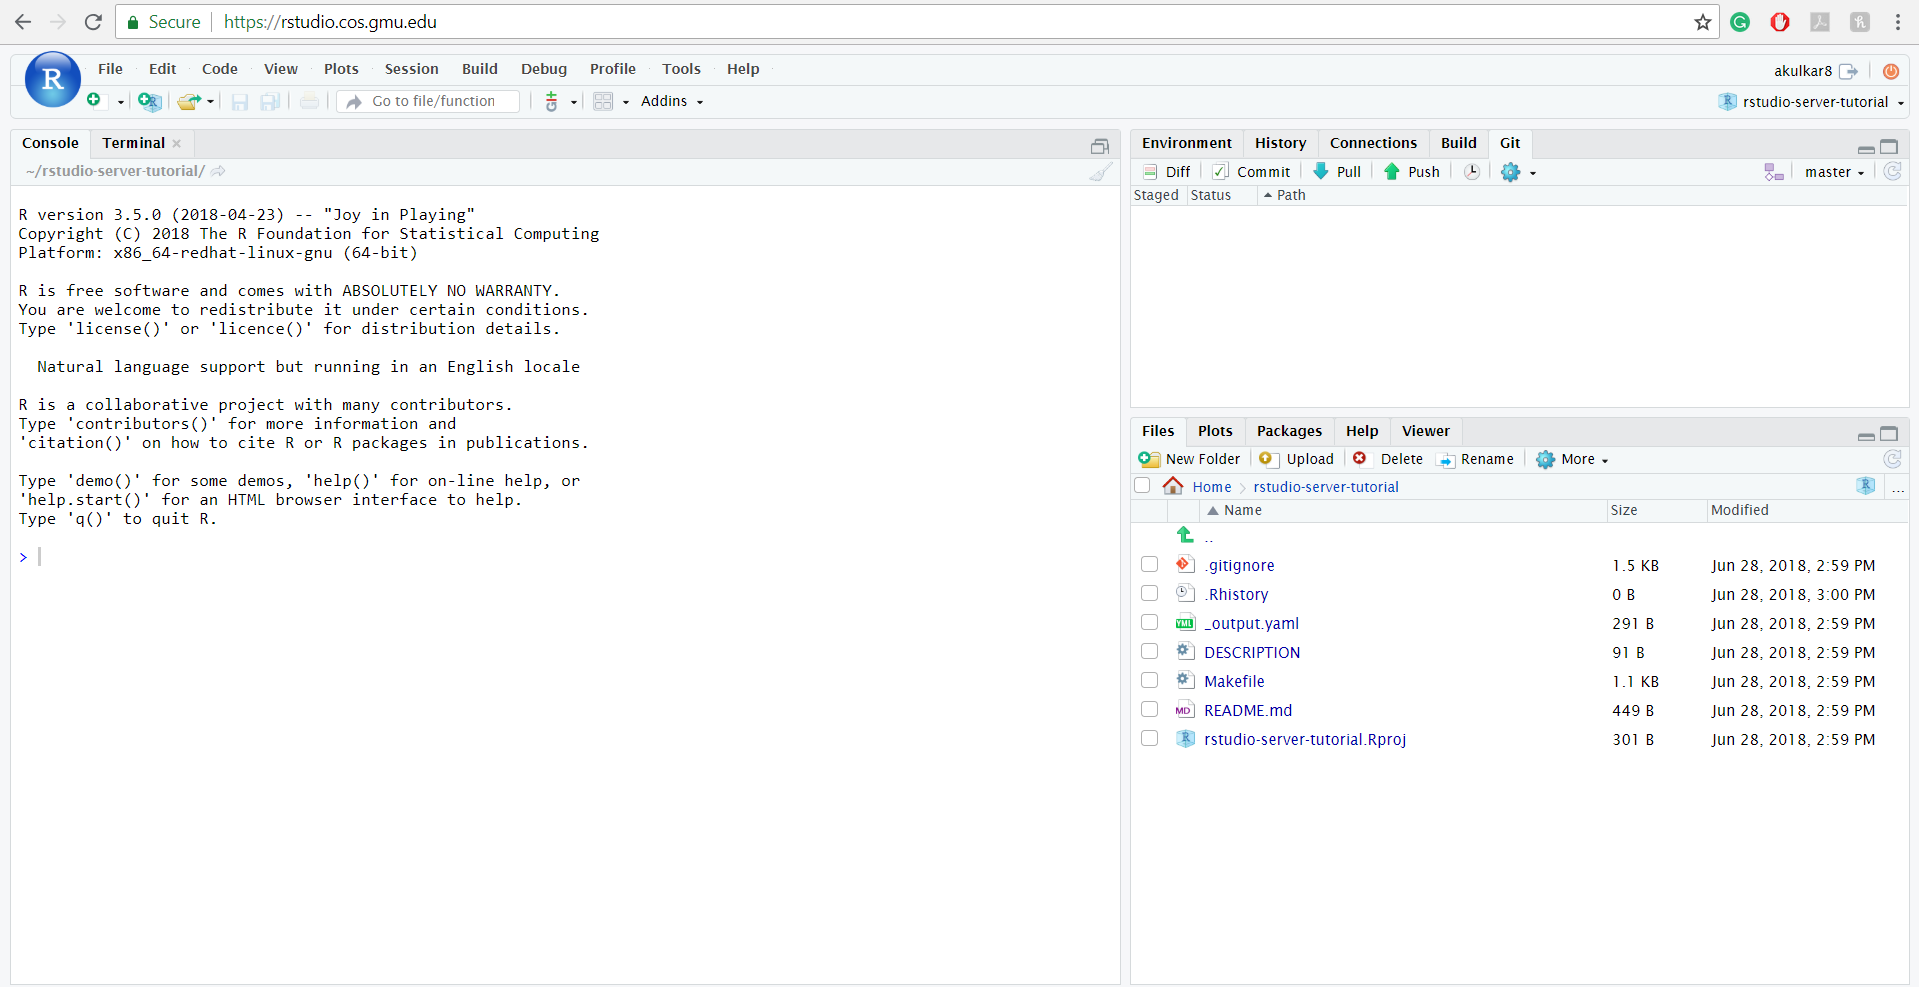
You have successfully cloned a repository from GitHub in RStudio Server. After creating a project, you will be in the newly cloned repository. You can easily access the files from the repository in the lower right window. Also, if you want to verify the repository, then you can check it on right side (cube containing R icon) button in the RStudio Server.